WHMCS Turns Your Hosting Server Into a Real Business
If you want to sell hosting, you need more than just a server and a control panel. You need a way to take orders, send invoices, accept payments, create accounts automatically, and remind customers when their bill is due. Doing all of that by hand is exhausting and error-prone. That is where WHMCS comes in.
Quick summary
Looking for affordable server licenses? SharedLicense offers cPanel, DirectAdmin, LiteSpeed, CloudLinux, and Windows licenses at wholesale prices with instant delivery.
WHMCS is the most popular billing and automation platform for web hosts. It connects to your control panel (like cPanel) and handles the entire customer lifecycle — from the first signup to automated renewals. When a customer pays, WHMCS creates their hosting account. When they cancel, it suspends it. It runs your business while you sleep.
Installing WHMCS on a cPanel server is a straightforward process, but there are a few important steps that trip people up. This guide walks you through the whole thing step by step, including SSL, cron jobs, and the most common troubleshooting fixes.
1. Prepare Your Server and Upload the Files
Before you install WHMCS, you need a few things ready. First, you need a valid WHMCS license and the latest software download from your WHMCS client area. Second, you need a cPanel account with a database and a domain (or subdomain) where WHMCS will live. Do not install WHMCS on the same account you sell to customers; use a dedicated cPanel account for your own billing system.
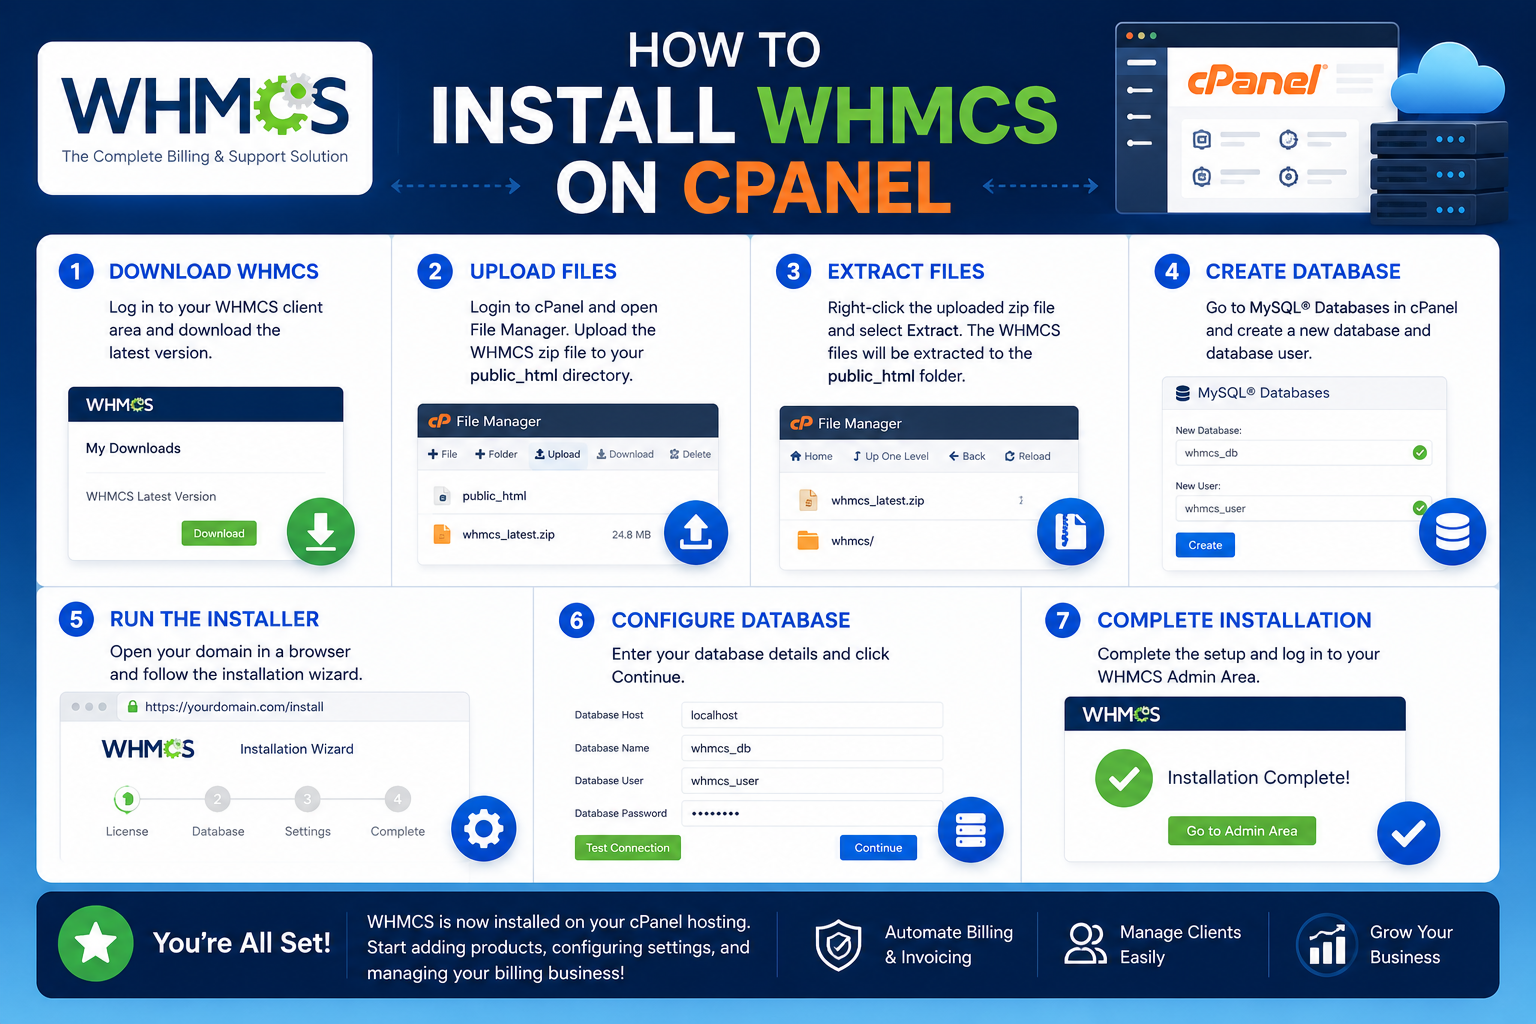
Step 1: Create the database. Log into cPanel and open MySQL Database Wizard. Create a database (for example, myaccount_whmcs), then create a database user with a strong password. Give that user full privileges (All Privileges) on the database. Write down the database name, username, and password — you will need them shortly.
Step 2: Upload the WHMCS files. Unzip the WHMCS download on your computer. Inside, you will find a folder containing all the files. Rename the configuration file configuration.php.new to configuration.php. Then, in cPanel, open File Manager, navigate to the folder where you want WHMCS (often public_html or a subfolder like /billing), and upload all the files. You can also upload the zip and extract it directly on the server, which is faster.
Step 3: Set the correct permissions. WHMCS needs certain folders to be writable. Make sure the following folders have permissions set to 755 (or 777 only if your host requires it): attachments, downloads, and templates_c. If these folders are not writable, WHMCS will show errors during setup.
2. Run the Installer and Connect SSL
Now that the files are in place, it is time to run the installer.
Step 4: Run the installation wizard. Open your browser and go to the URL where you uploaded WHMCS, for example https://yourdomain.com/billing/install/install.php. The installer will check that your server meets the PHP version and extension requirements. If anything is missing, cPanel’s MultiPHP Manager and Select PHP Version tools let you fix it quickly.
Step 5: Enter your license and database details. The installer asks for your WHMCS license key, your database name, database user, and password (from Step 1). It then creates the necessary tables. Next, you set up your admin account — pick a strong username and a long, random password, because this account controls your entire billing system.
Step 6: Secure the installation. After the installer finishes, delete the install folder. This is critical — leaving it in place is a serious security risk. Also move the configuration.php file outside the public web folder if you know how, and update the paths, for extra safety.
Step 7: Add an SSL certificate. Your billing system handles customer payments and personal data, so it must use HTTPS. In cPanel, use the SSL/TLS status page or AutoSSL to issue a free Let’s Encrypt certificate for your domain. Then force HTTPS by adding a redirect in your .htaccess file so all traffic is encrypted. WHMCS also has a setting under Setup > General Settings to enforce the secure area — turn that


